Day 21: Publishing my component
My Utility Nav is coded and styled! 🎉
If you’ve been following along, you know I’ve got more work to do to get the functionality of my component in line with what I planned. I’ll do that soon, but first I’d like to get my component into its own repo and published to a discrete package so it can be included in multiple apps.
I’m doing a lot of technical work today, so here’s a quick summary:
- Create a new folder;
- Initialize the folder with Git (version control) and npm (package publishing);
- Add and commit component code;
- Update important package metadata;
- Publish to npm.
…
Let’s jump into it.
I created a new folder called bofa-components — this will house the code for my new component. This is the code that will be imported into other digital products.
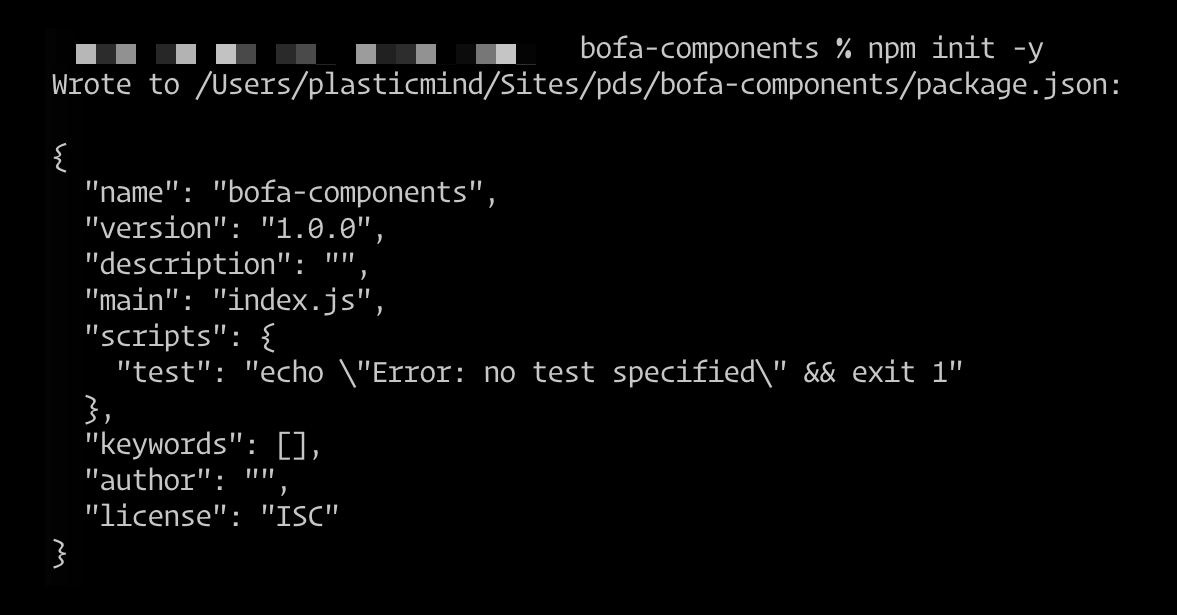
Initializing with npm generates this package.json file for me with metadata that I’ll need to update. This information shows up in the npm library and some of it (like title and version) will be displayed inside the package.json of the products that use your component library, so it’s important not to overlook this.
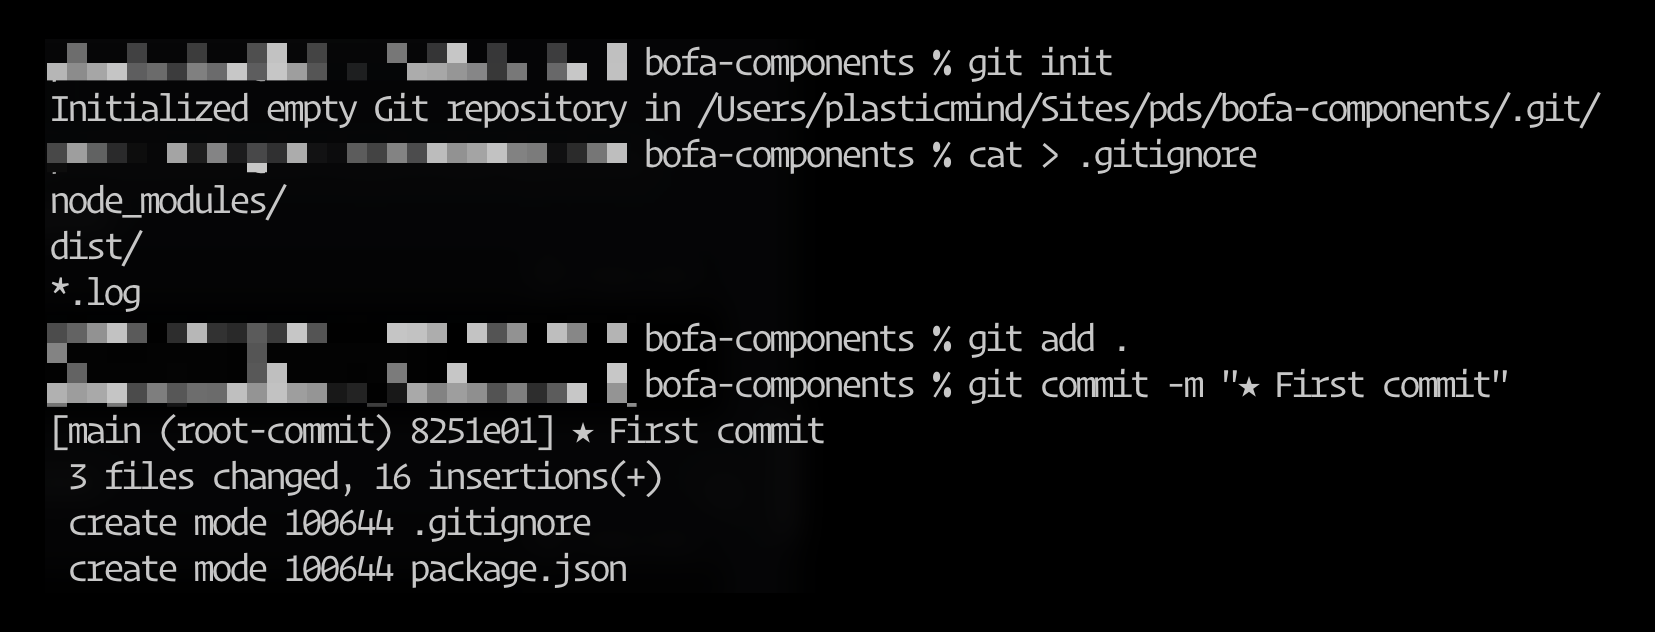
I’ll also initialize the folder with GitHub so I can track changes to the code and easily roll them back if necessary. I’ve also connected it to a remote GitHub repo with git remote add origin bofa-component so I can pull it down to any other device. More details in the GitHub documentation.
The new repo is set up, so I can move over my component code from the other product (where I originally designed it).
I’ve done a little scaffolding: a src folder with a components folder inside of that. Inside the src folder, I created an index.js file. This is the file that will get evaluated when a product imports this package, so I’m passing along the Utility Nav component code as a named export.

Now, I just need to copy over the component files and put them where the export is pointing:

Using index.js in the /components/UtilityNav folder lets me reference only the folder in the export:./components/UtilityNav — I kept the CSS file named UtilityNav.css to make it easier to keep track of both when editing.
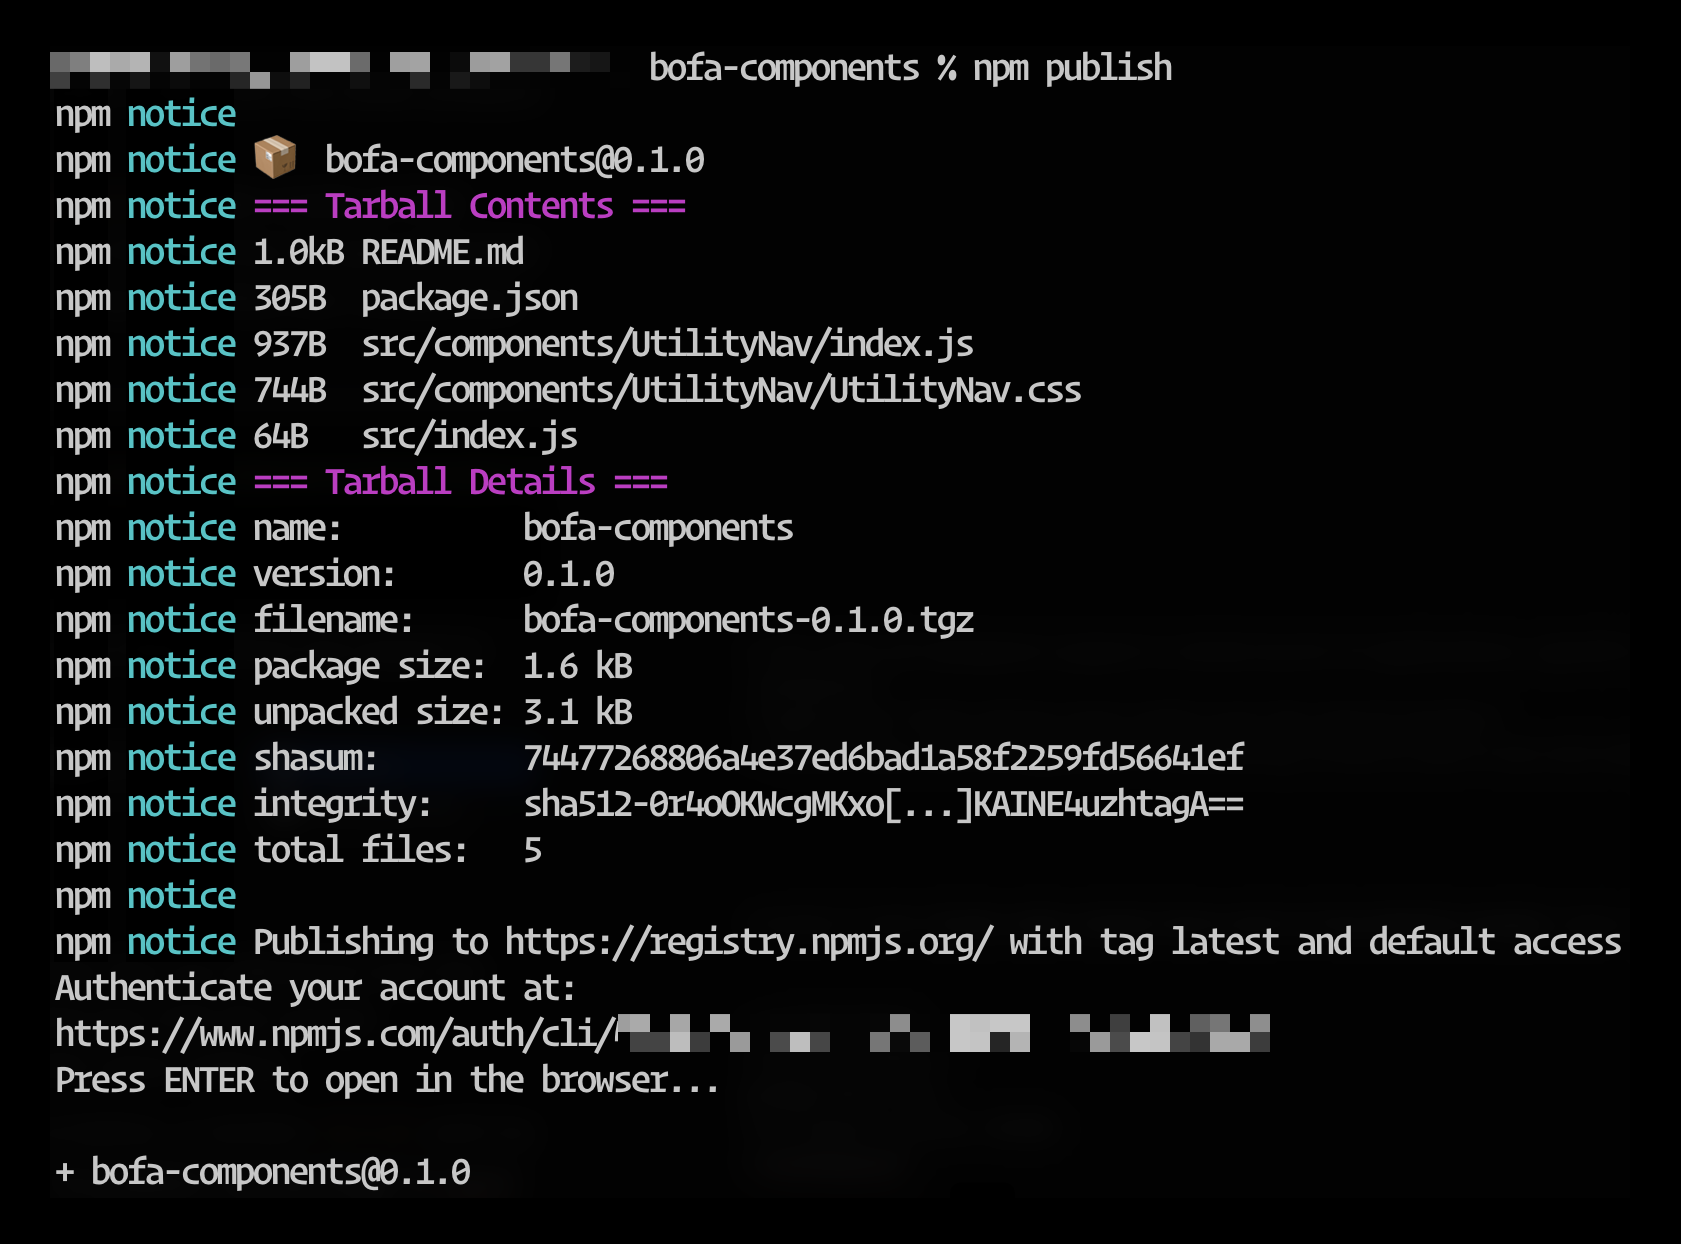
Finally, I’m going to update package.json with a description, a version 0.1.0 (it's now 0.1.1... more on that tomorrow), and my name. After committing the updates to Git, I’m ready to publish my package to npm!
I already had an npm account, but had to log in from the command line with npm login — and then a simple npm publish published this package on npmjs.com:
You can see my published npm package here: https://www.npmjs.com/package/bofa-components
You can also see the published GitHub repo here: https://github.com/plasticmind/bofa-components
Tomorrow, I’ll import this component into my original application. It shouldn’t look any different, but pulling it from the component library gets us one step closer to a connected system of centralized components.
—
P.S. If you’ve just joined the list, I’m in the middle of a practical design system build. You can catch up at the beginning of the series here.
—
Cheers,

Design Systems Daily
Sign up to get daily bite-sized insights in your inbox about design systems, product design, and team-building:
New to design systems?
Start with my free 30-day email course →